Showing posts with label White cabinets and dark counters. Show all posts

Monday, May 20, 2013

My House Monday: Letting My Little Light Shine

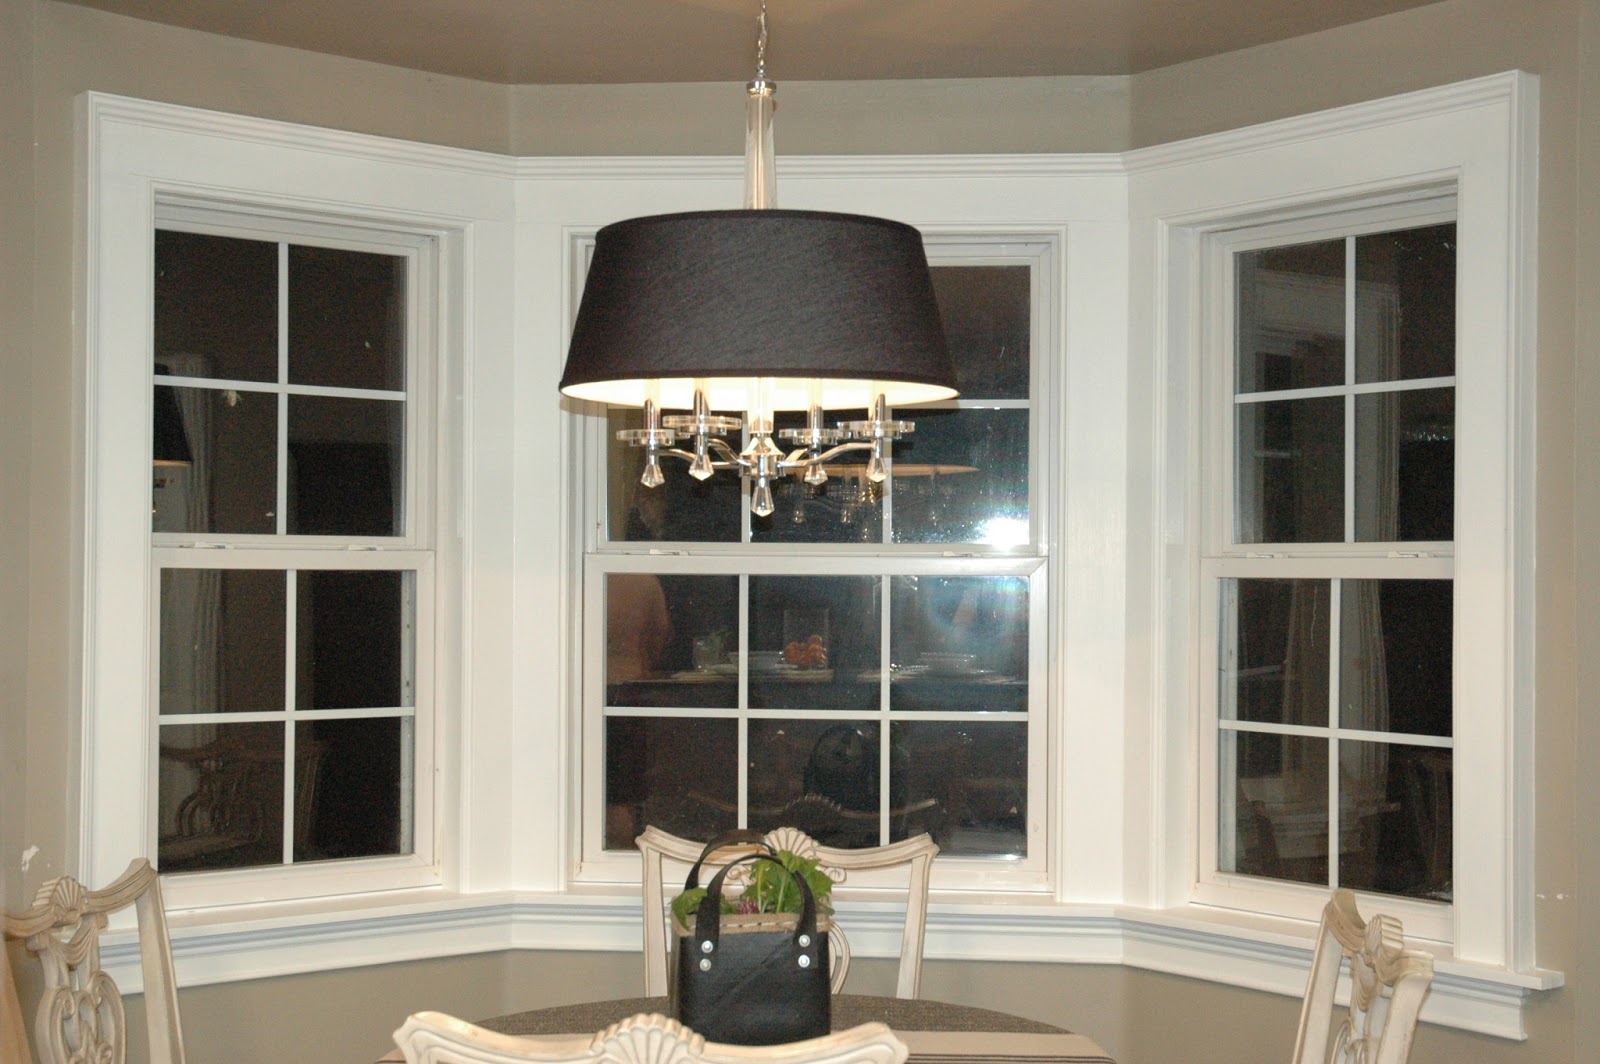
I made it...just barely...in time for #MyHouseMonday, a totally self-imposed deadline for at least one weekly project.  I am ashamed to say, I have pushed the deadline with only 2 hours to spare (we started at 8ish)!  This week's (and a bit of the last few weeks') dilemma has been deciding which light fixture to hang above the kitchen table.  Okay, that sounds ReALly shallow and in truth, that hasn't been the only dilemma at the house.  We have had a rough couple of weeks around here, but working on the house has proved to be a nice escape.  In fact, I got up extra early this Monday morning before reporting to work at 7:30am just so I could swing by Home Depot.  (I can't seem to help myself!  I love that store.)  Back to the lighting...
I thought I wanted rustic.  Definitely cottage.  Hinting at coastal.  I looked high and low.  And I actually purchased three different lights.  Then...I went with something totally different.  
Shiny? Yes!  Sparkly?  Of course!  I feel a bit like Dori in Finding Nemo.  It is so freshly hung that it doesn't even have all of its bulbs yet.  But I love it!
It is coming together.  Slowly, but surely, I am making progress.
Somewhere along the way I have moved a bit away from the inspiration picture and started just filling it with stuff that inspires me. (Lots of dishes!)
I am mixing it all together to create a room I want to be in and since I am hanging out in the kitchen more, I find myself cooking more...much to Mike's delight:)
Okay, I now realize I could center the rosemary and pick up my keys before snapping a picture next time, 
but other than that, I think I am almost done with this end of the kitchen!

Wednesday, March 27, 2013

The Backsplash is Grouted!!!

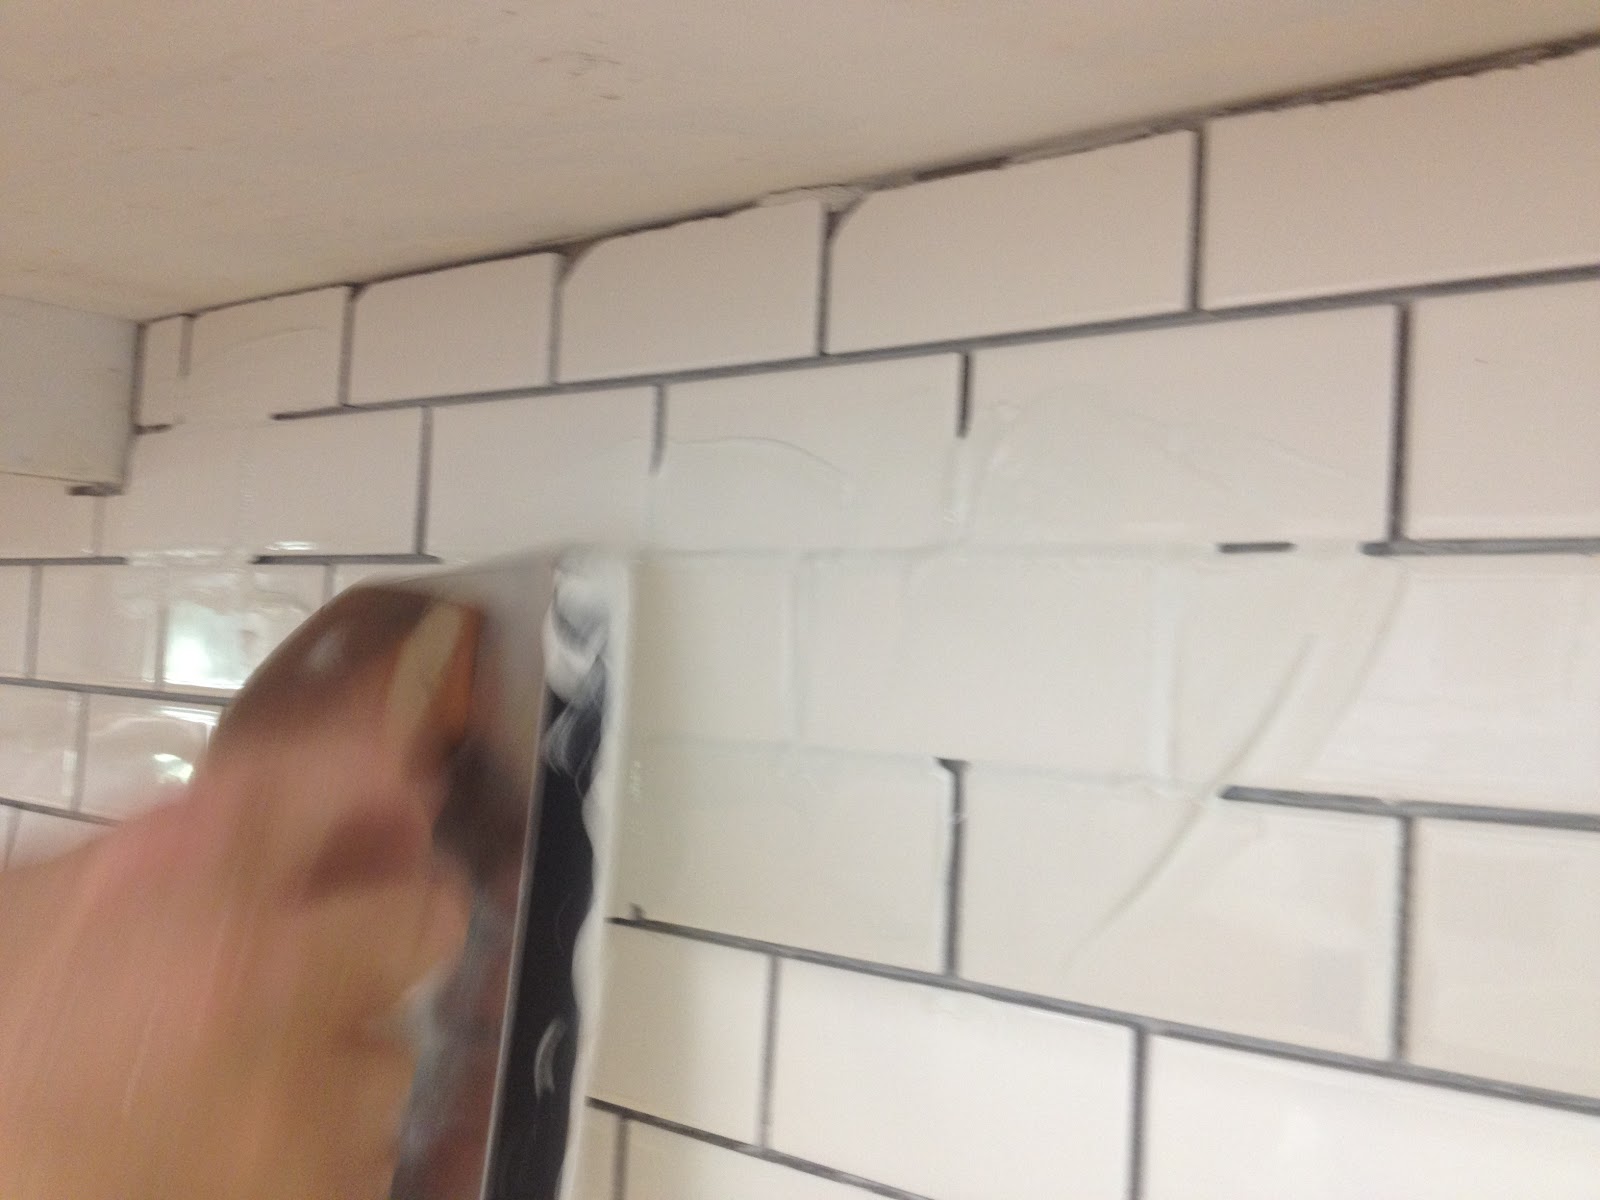
This has been a busy week!  We decided on a tile, installed the backsplash and now, grouted the space. Grouting was actually harder than I thought it would be and it took more time (about 4 hours).  We started by mixing PolyBlend's non-sanded, bright white grout from Home Depot.
We used a clean bucket to mix the powdery mix with water.  
The first batch was too thick, which made it challenging to apply.  
After adding a bit more water and the grout spread more easily.
 The grout began to firm up after 10 - 15 minutes.  
(I literally sat there watching the grout dry.   I was so excited to start wiping the walls down:)
We used the wrong sponge at first.  The big sponge was pulling a lot of the grout out.  Mike made a quick run back to Home Depot and picked up a  couple of sponges with a smoother finish.  Having two sponges was  actually a big help.  Mike was able to wipe the walls with one, while I rinsed the other.  It made for a quicker finish time for this part of the process. 
After wiping the tile with the sponge, a slight haze was left on the tile.  The directions for the grout recommended waiting a couple of hours before buffing the haze away.  We waited overnight and had no problem scrubbing the residue off this morning.  And, here's the finished result: 
I love the way it turned out.

Tuesday, March 26, 2013

Backsplash Install

I couldn't wait 24 hours after finally choosing the backsplash to start the install.  We decided on the 2x4 glossy white mosaic from Lowes by American Olean.  Cost: only $3.57/sq ft  It was the cheapest of all the tiles considered though price was not a factor in the decision process.  (However, after recognizing the savings, I admit, when I found the same tile, different brand. at Home Depot for a $1.10 less, I briefly considered another trip back to Lowes.  Because I had literally been in Lowes 11 times already this week, I opted to pay the extra $ and head home to INSTALL MY NEW TILE).
We got an early start and figured it would be about a 1/2 day's job.   We covered our new granite with brown craft paper and decided not to install backerboard after reading many blogs where others installed the tile directly to a painted wall.  Fingers crossed that they were right!  Applying the tile adhesive directly to the drywall helped us get to the fun stuff faster.
Using sheets of the mosaic tile made us feel down-right optimistic that we would have the wall whipped out in no time.  That was until the sheets started sliding down the wall (too much adhesive?) and then I noticed the spaces were not uniform.  No problem, it was a tiny area 18"x18".  We quickly cut the tiles apart and used spacers to keep the tiles equidistant.  The first section looked fabulous!  On to the next section, which is a bit bigger with wide open spaces.  I thought tiling with the sheets would make the job go quickly.  There were only 3 plugs, so very few cuts.  We threw 3 sheets of the tile on the wall only to notice that now the spacing on the tile sheets didn't match the first tiny section of perfection. Ummm...that is a problem.  Seriously.  I tried not to make a big deal about it, but I am very particular about symmetry in everything I do.  It takes hours for me to put up a bulletin board at school if I don't have a straight edge and spacer for the letters.  I honestly can't help it.  And somehow this quirk in my personality managed to escape my precious husband of 22 years until now.
 Once I realized the spacing was not right nor would ever be right when all of the little tiles were attached by globs of adhesive on the backs of the tile sheets, the only way I knew to correct the problem was to cut the tiles apart.  We put a towel down on the granite bar, placed a thin sheet of wood to be used as a cutting board and started slicing.  My father-in-law grabbed a knife and went to town.
In no time, he had a box full of single pieces of 2x4 tile.  I haven't stopped to Google the availability of said tile.  If I did it again, I would see if these were available in anything other than sheets since we used over 675 tiles. Armed with single tiles, adhesive, and 1500 spacers, I set to work,  Mike did the cutting and I placed the tiles.  It took a bit more than the estimated 1/2 a day...more like 10 hours with 2 of us working (and an emergency run for more spacers, 1500 didn't quite do the job), but I love the results.  The tiles are symmetrical!!!
We still need to grout,  
but we are happy with the results so far.

Monday, March 25, 2013

Which Backsplash...aaaggghhh???

    I think I have spent more time in my kitchen these past few weeks than ever before.  I have painted cabinets (well the lower section, at least...I still have the upper ones to tackle), ripped out laminate and installed granite, and now, picked the backsplash.  Selecting the backsplash was trickier than expected.  I struggled in choosing between the inspiration room's subway mosaic and a beautiful natural stone found at Lowes.  
Image from FastFloors
     The designer of the inspiration room had installed Crossville Tile's 1x2 Savoy series glossy white.  The closest Crossville distributor was actually 3 hours away.  I made a quick call to the rep and he generously sent a sample which arrived within 3 days.  I was beyond thrilled when the UPS man delivered my sample.  Unfortunately, when we held it on the wall, we didn't loooovvvve it (and after waiting 13 years to "do the kitchen", I thought we should).  The tile was beautiful and it looked fabulous in the pics, but on our long run of cabinets (12 1/2 feet) and the 1x2 pattern looked waaaaaayyyyy too busy.  
Image from Lowes
     I headed to Home Depot and Lowes to find an alternative.  Lowes had a soft white natural stone with gray striations which was beautiful! I brought home two boxes and we all agreed - it was the one.  It wasn't the bright white of the room, but it was gorgeous.  After agonizing over the choice for days ( I polled friends, family, and even my students), we chose the natural stone.  Unfortunately, it was gorgeous only in small batches! When we laid it out prior to installation, we realized it didn't work.  Some stones featured gray, but most were white with brown spots!  I hate brown spots!!! Aaaaggghhh!  I had bought 28 boxes from 2 different locations (2 different lots/runs + natural stone = major variations!!!)  I couldn't put the brown spotted tiles back in their boxes fast enough.  
     Mike and I loaded up the stone and headed back to the store.  Now, what?  I had liked everything about the inspiration room.
Image from A Postcard from Paris
I wanted to recreate the feel without  using the tiny mosaic. 
Image from A Postcard from Paris
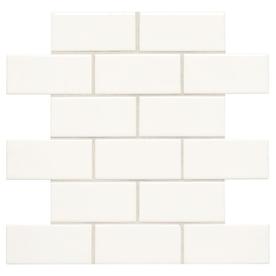
I looked through other kitchen pics I had collected on my iPad and phone over the past few months. They all had a high contrast between the backsplash and countertops.  They tended to be bright and white.  Many had a subway tile backsplash.  I like traditional subway tile, but I liked the smaller tiles from the inspiration house too.  I went back to the tile section of my big box stores and found this:
a 2x4 glossy white mosaic, my new backsplash!
So much effort...and we still have to install it :)

Saturday, March 16, 2013

Kitchen Renovation Begins

Operation Inspiration Kitchen begins!!! A few weeks ago, I posted pics of my dream kitchen designed by A Postcard from Paris. The photos were all I needed to begin my newest (and long overdue) makeover...the kitchen. Our kitchen was beginning to look a bit lived in. It not only could stand a little Spring cleaning, but also some modernizing:). I live in the sticks and I don't mind a little Southern charm, recycling or upcycling. This week though, I went brand new. I managed to paint the lower cabinets,  add corbels to the island,  and change out the counter tops!!!!
     I shopped around for just the right look and realized the price of the counter top depended upon where I actually purchased the slab.  I visited 3 stores, one small store that mainly carried flooring, but also offered solid surfaces, a large box store where I was told that I would not be able to pre-select a slab or negotiate where the seams would be placed, and finally Classic Stone Interiors in Bossier City, LA that deals primarily in granite.  The staff at Classic Stone was wonderful.  No problem that the stone I wanted was not in stock...they gladly ordered it.  No problem that I wanted to talk about where I wanted the seam...I actually received a preliminary sketch for approval.  No problem that I wasn't sure what the fancy names for the edges were...they patiently showed me examples of each.  The biggest bonus of all...Classic Stone was actually the least expensive, but the most professional!
They measured.
We tore the old laminate out (gotta save money for the rest:).
 I am in love with the Black Pearl granite with its consistent pattern and beveled edges.
 We added a new stainless sink and faucet that is spot resistant. 
 Mike actually picked the faucet set which included a soap dispenser, a nice handy addition that will eliminate the family size Dawn bottle that has adorned my counter for the past 20 years.
We had to remove the molding on the back side of the island to add the extra supports.  During the removal of the old stuff, the wood on the island tore a bit.  Mike has patched, sanded, and put one coat of paint on the area.  It is not complete yet, but I am loving the corbels already.    I am off to find tile for the backsplash. I hope to find a basic white mosaic that will stand the test of time or at least the next 12-15 years:D

Saturday, February 23, 2013

Houzz Love

My dear sweet mother-in-law introduced me to my new favorite app, Houzz, just a few short months ago and through Houzz I have fallen in love!!!  After countless hours of pouring over pictures of designer rooms, I stumbled upon this jewel! (my new love:)
   I love the coastal charm, brick drive, and the beautiful wooden door.
Gorgeous!
Reclaimed heart of pine flooring runs throughout the house.
Soft neutrals give the bedroom a relaxing feel.
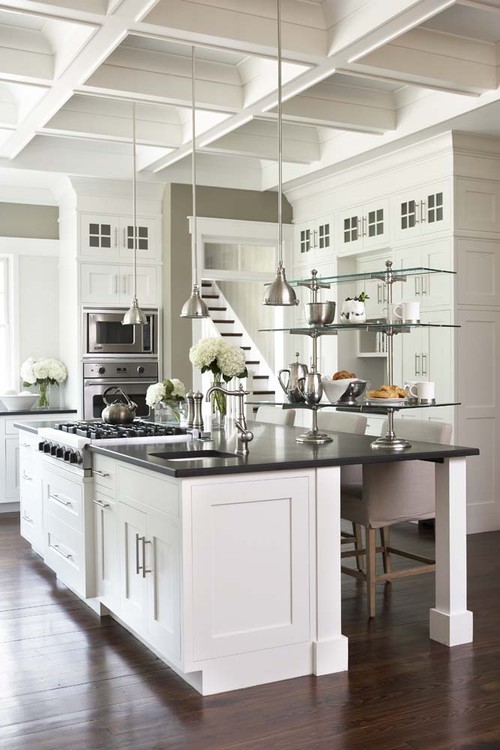
And for me, the true inspiration in this home...the kitchen
 with its high contrast between the cabinets and counter tops,
the stainless steel accents, and the ceiling!
I adore the glass doors on upper cabinets,
the wall of windows,
and the sparkly, white backsplash made from
 Crossville Tile Inc. / Savoy Gloss collection / Color VS130 White / 1x2 mosaic tiles.
To me, this is the perfect blend of classic, cottage/coastal chic.
And it is what caused me to fall in love with this house!!!
I can definitely imagine sitting here and enjoying a nice, tall glass of lemonade:) 

Saturday, July 9, 2011

Bright, White Kitchens

"The past two decades of designing kitchens there has been one constant; the timelessness of a white kitchen."~ Marin Kitchen Company Good thing, because 10 years ago when we built that is exactly what we picked. I still love walking into the bright, cheery space. While we are now considering updating a few surfaces, we are keeping the white!


Images 1 2 3 4 5 6 7